Your First Packing List – Ready in 30 Seconds
Creating a new packing list is child's play:
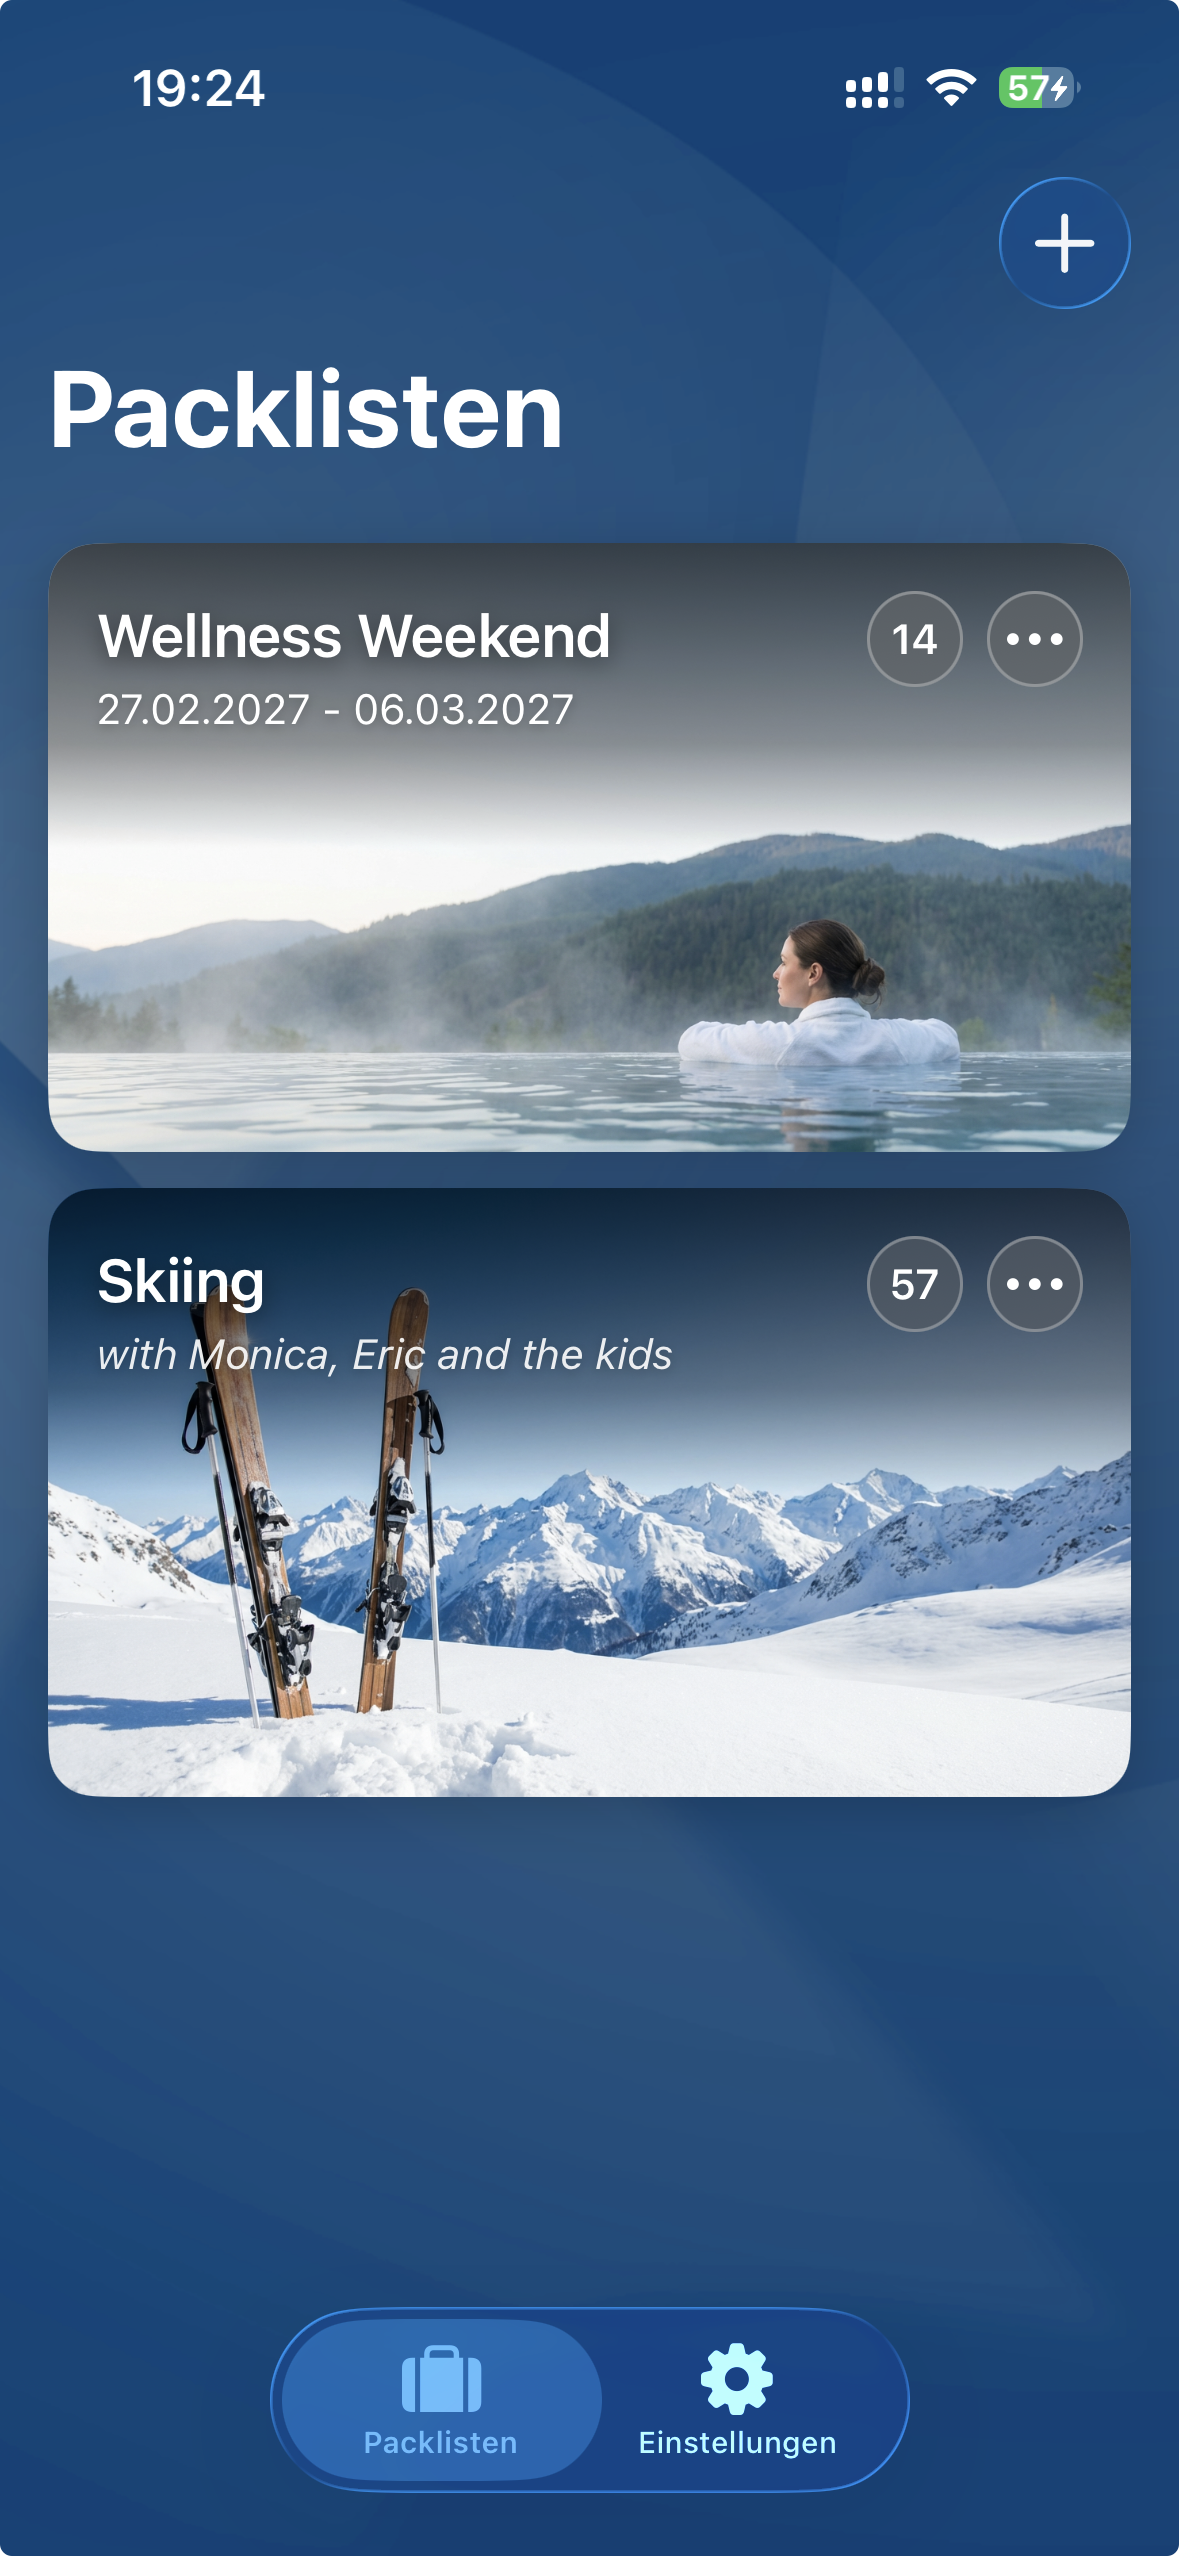
Tap the + in the top right of the Packing Lists tab. If you've already saved templates, Packster will ask if you want to use a template or start from scratch.
When creating, give your list a name. "Mallorca 2024", "Ski Trip Austria" or simply "Weekend Trip" – whatever helps you find the list again.
The Extras (all optional):
- Design: Choose a background image for your tile. Not only looks great but also helps keep track when you have multiple lists.
- Date: Start and end date of your trip. Handy as a reminder, but not mandatory.
- Note: "With rental car", "Airbnb without towels", "Business Casual" – short notes that help you later when packing.
Edit, Copy, Save as Template
Each packing list tile has a small menu (three dots) in the top right. Behind it are all the options:
Pack
Opens the list for editing and checking off. This also happens when you simply tap on the tile.
Edit
Here you change name, image, date or note.
Duplicate
Creates a copy of your list. Handy when planning similar trips. The copy contains all items, but they're still "unpacked".
Save as Template
The game changer. Save your perfect list as a template, and next time you won't start from zero.
Delete
Deletes the packing list permanently. The items remain in the inventory, of course.
Filling the Packing List – Here's How
You've created a fresh packing list? Then it's time to fill it.
When you open a packing list, you'll see three areas:
- To Pack – This is where all items you want to pack end up. Initially this area is empty (unless you used a template).
- Recent – Practical time saver: Here you see items you recently removed from the list. One tap and they're back on.
- Categories – All your items, sorted by category. From here you add new items.
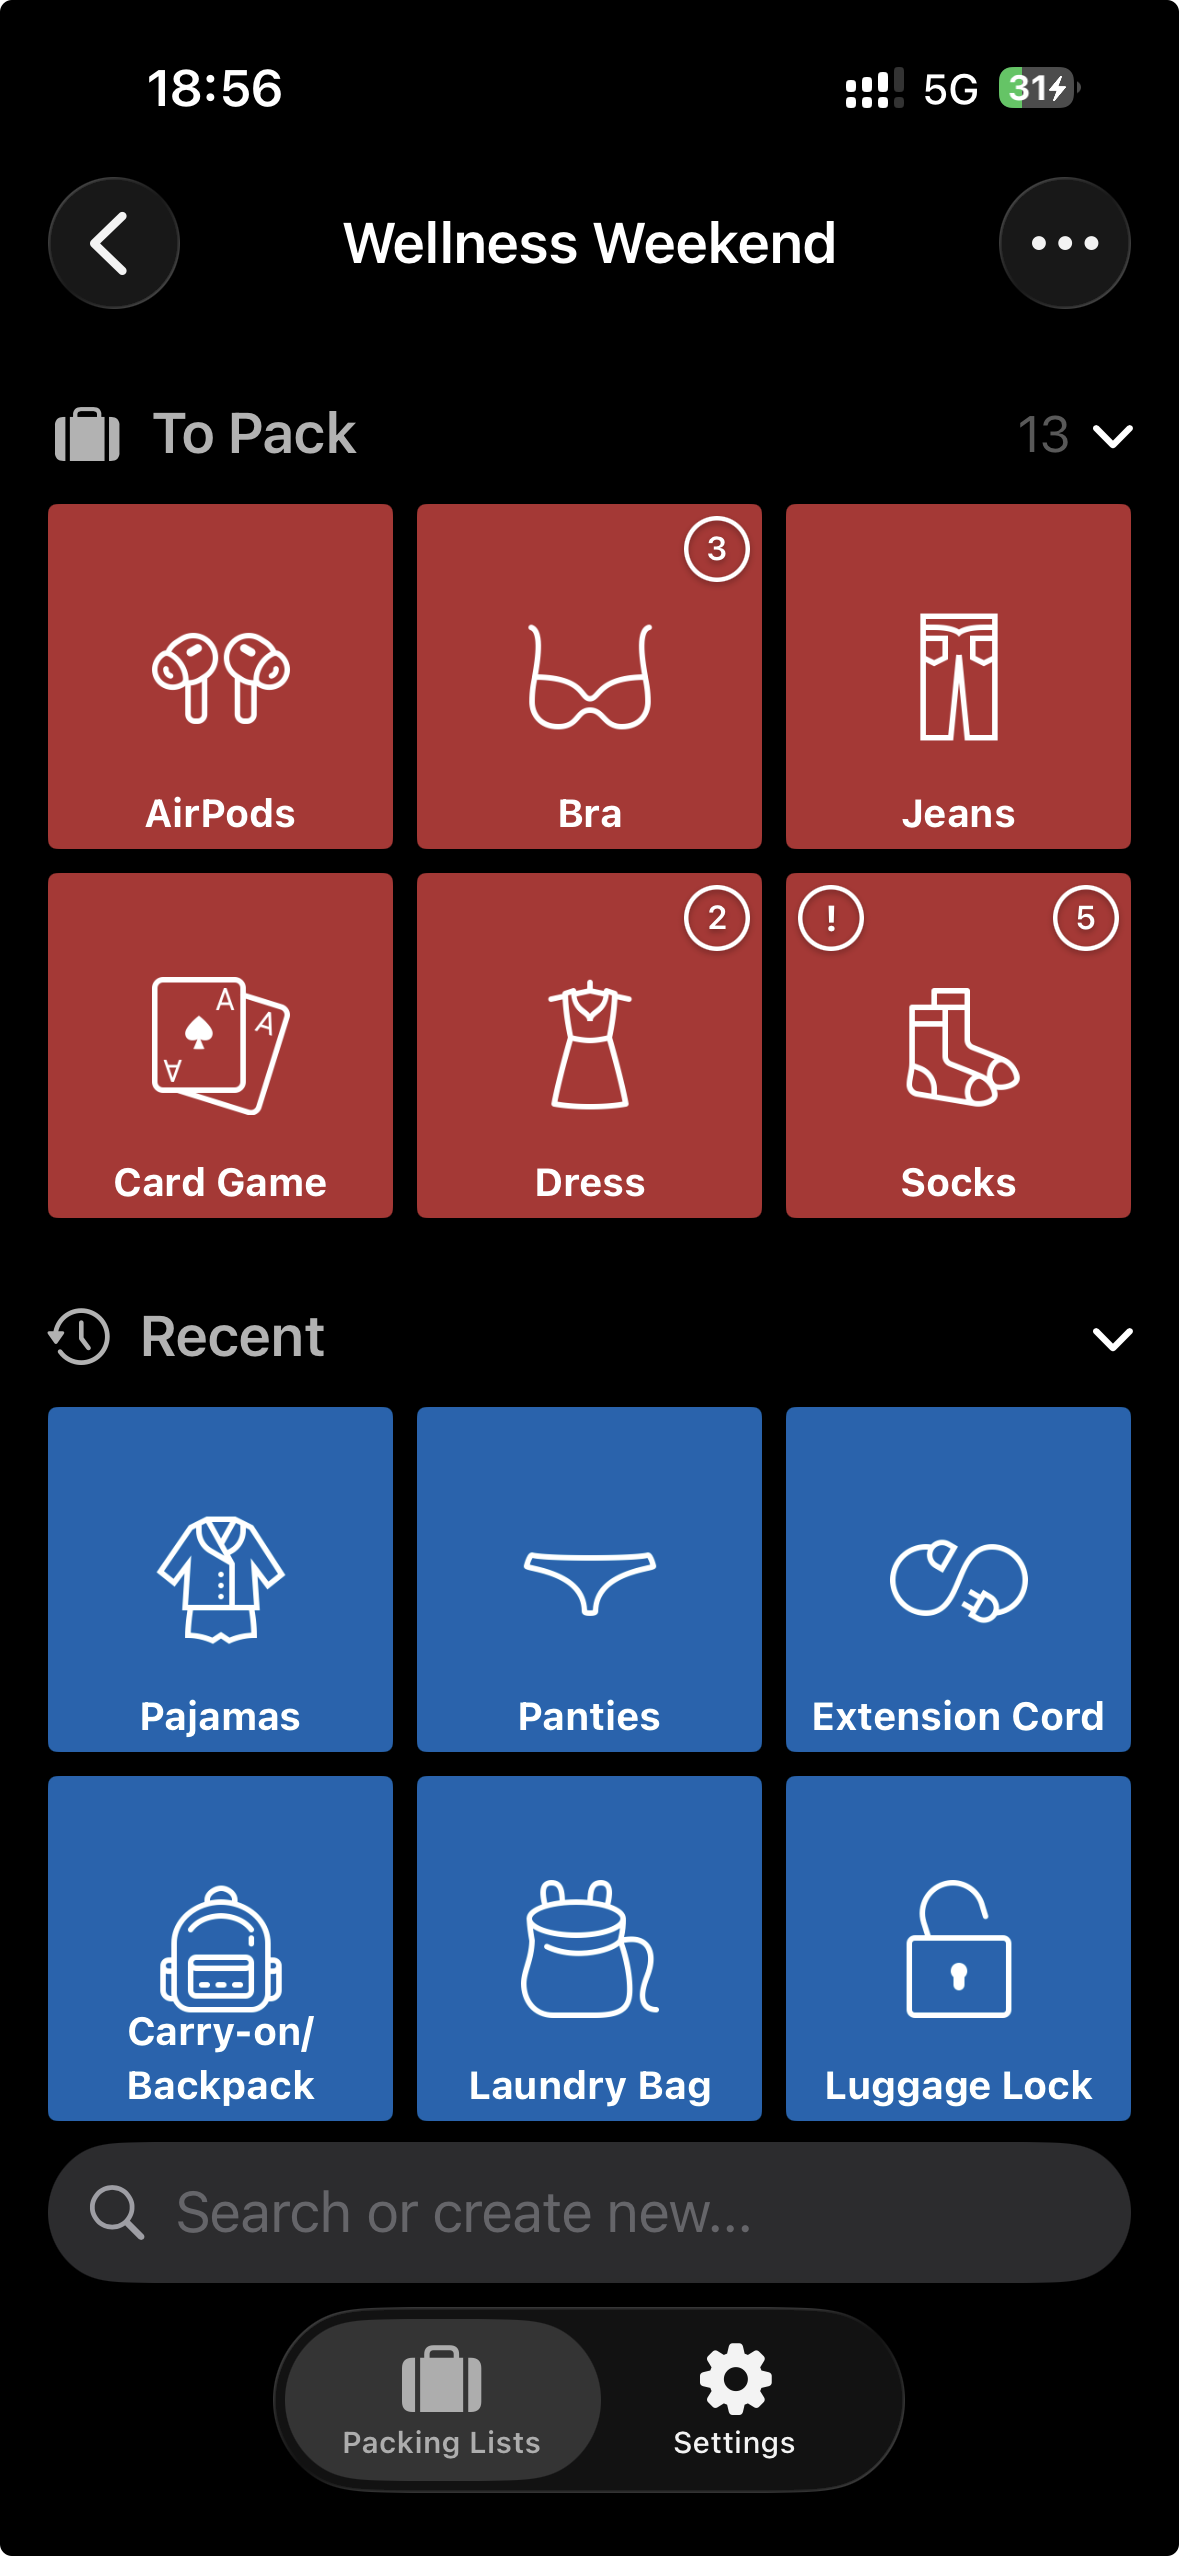
How to Add Items
Tap on a category – for example "Clothing". You'll now see all clothing items as tiles. The colors tell you the status:
A tap on a green tile adds the item (turns orange). A tap on an orange tile removes it again (turns green). It's that simple.
Search – Your Friend with 200+ Items
At the bottom of the screen you'll find a search field. Type "tooth" and you'll immediately get toothbrush, toothpaste and dental floss. Much faster than scrolling through all categories.
Something Missing? Create It!
Packster knows a lot, but not everything. If you type something in the search field that doesn't exist, a pulsing tile appears with your search term. Tap on it, and the new item is created and immediately added to the list. Your new item automatically ends up in the category you're currently viewing – or in "Other" if you're in the overview.
The Big Moment – Packing Begins
Suitcase open, Packster ready? Let's go.
In the "To Pack" area you see all items waiting to be packed. Now it's: find item, put in suitcase, tap in the app. Done.
With each tap, the item disappears from the list and moves to the "Recent" area. This way you see at a glance what's still missing – and the list gets shorter and clearer with each packed item.
Quantities – When One Isn't Enough
Some things you need more than once. 7 T-shirts for the week? 3 books for the beach? No problem.
Items with quantities show a small number in the top right. Each tap reduces the quantity by one. With "T-Shirts (3)" you tap three times – once for each shirt going into the suitcase.
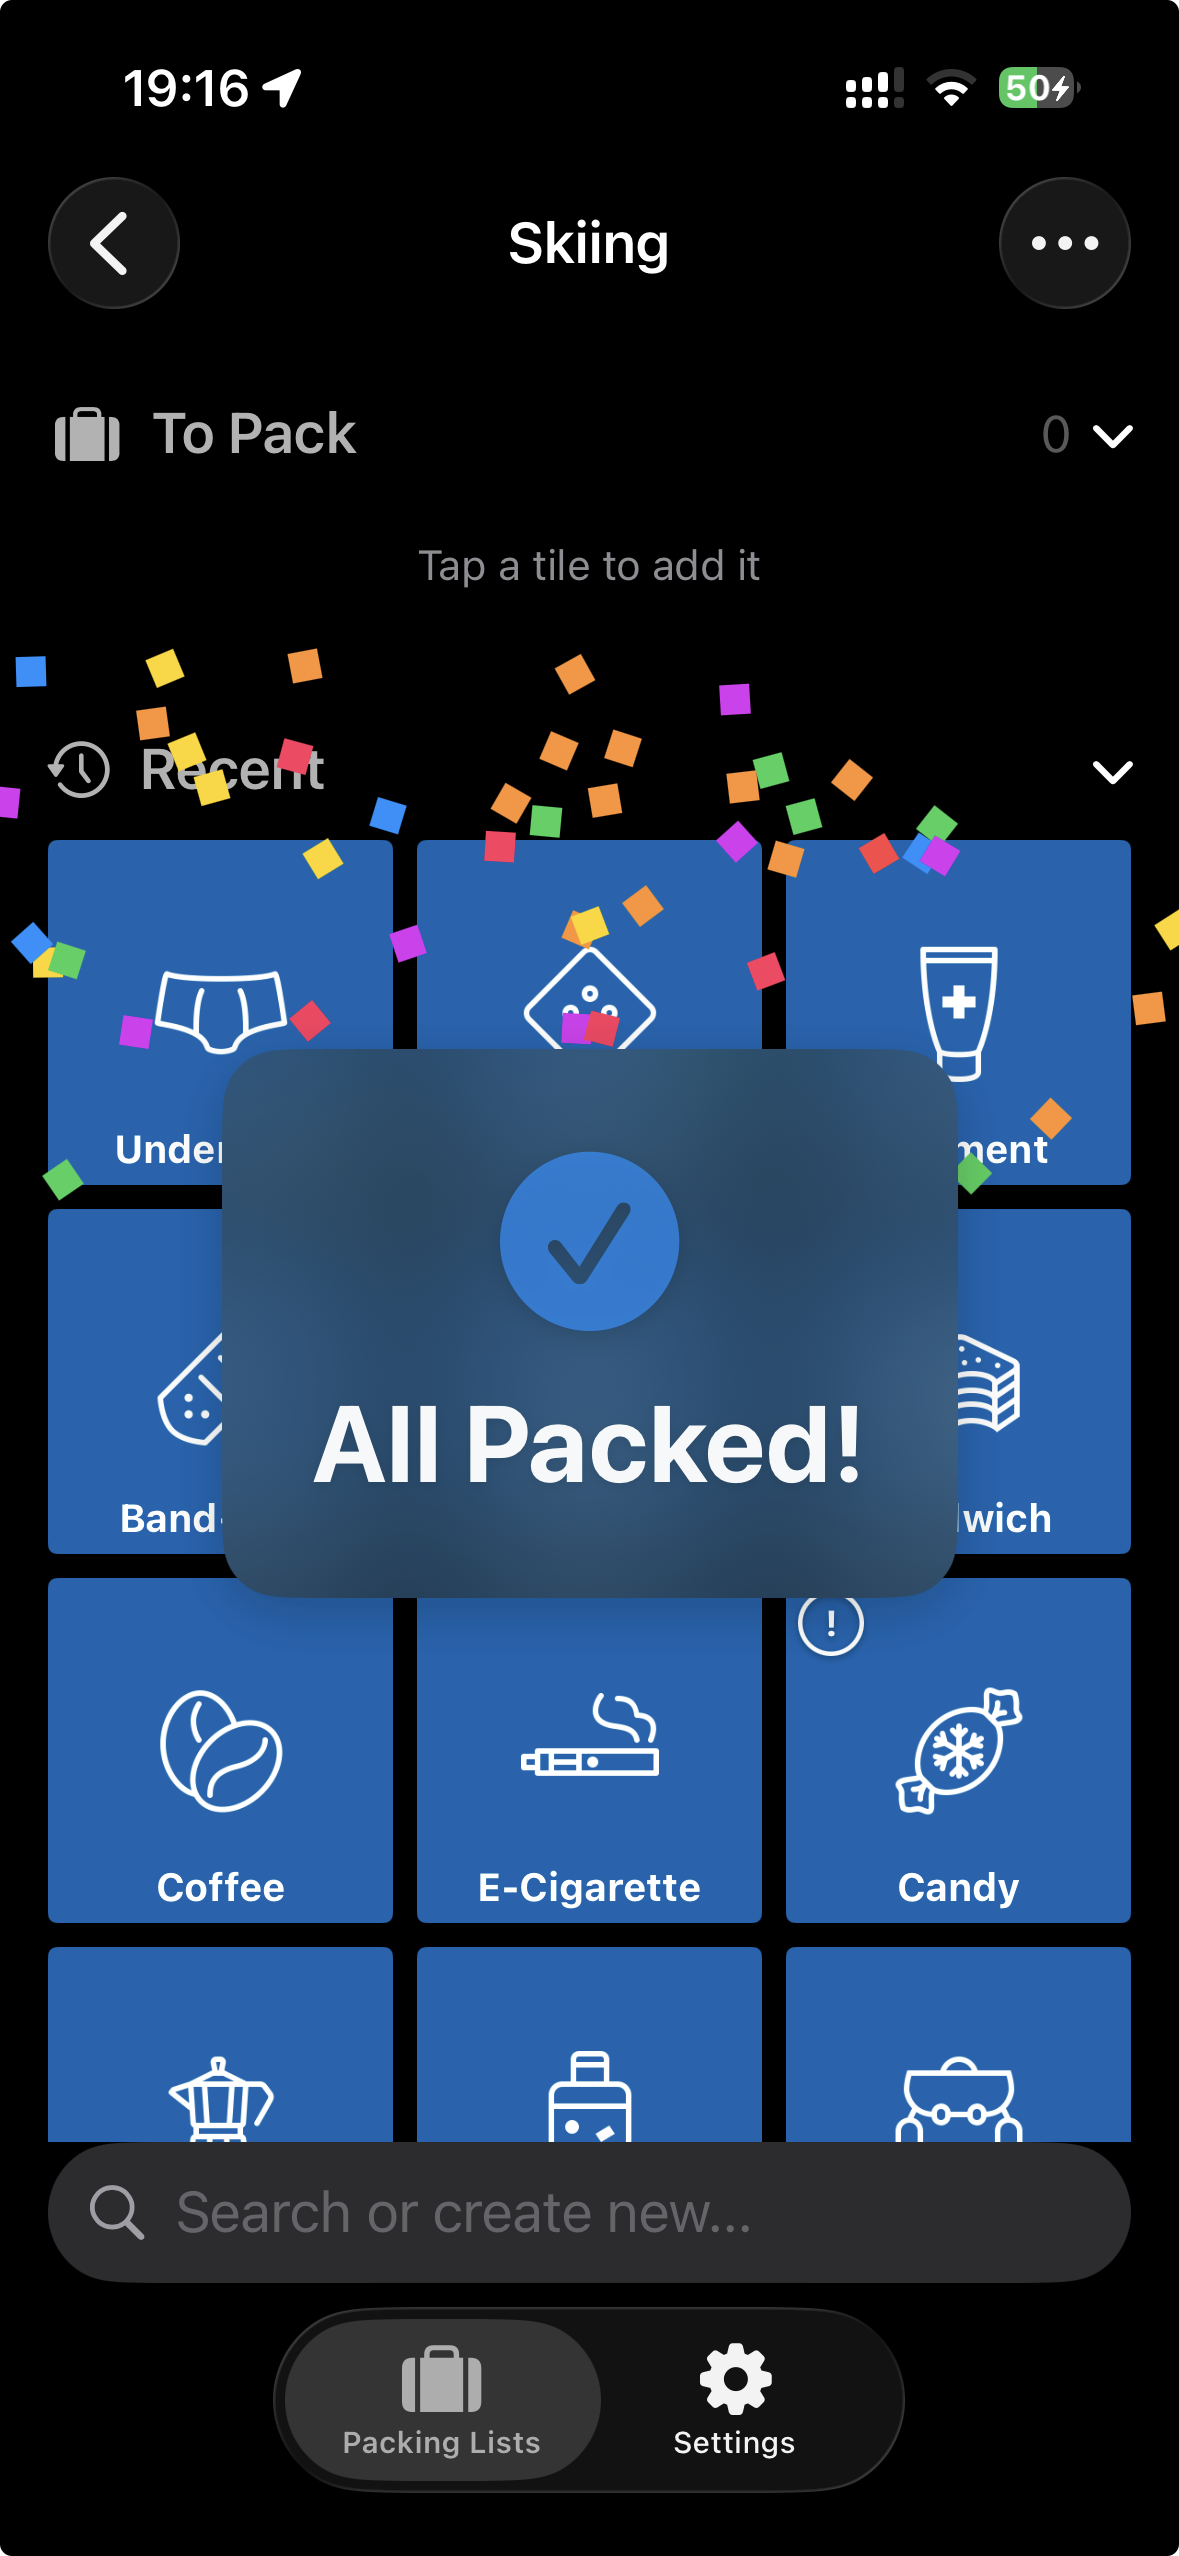
The Best Feeling: All Packed!
As soon as the last item disappears from the list, something nice happens: Confetti rains across the screen, and "All Packed!" appears. You did it. Nothing forgotten. Time for vacation.
Oops, Changed Your Mind?
No panic. In the "Recent" area you'll find all items you just removed. One tap and they're back on the list. In case that extra book should come along after all.